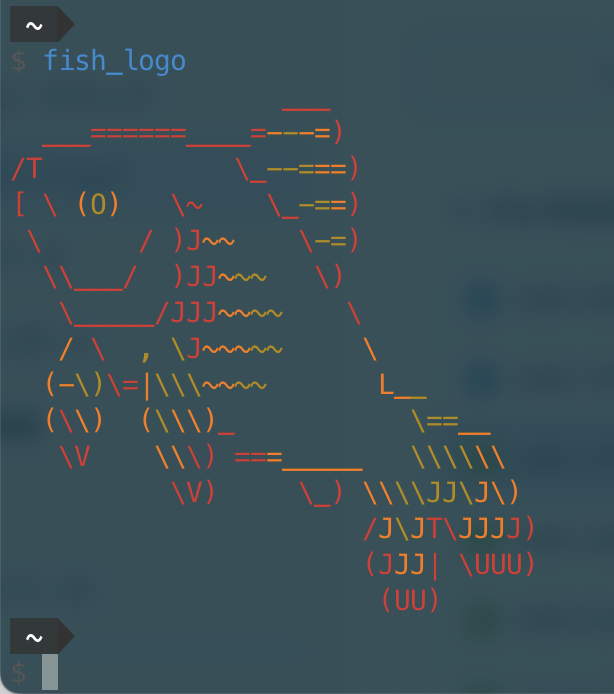
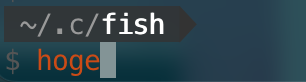
完成図は上記の画像のようになります。
fishのインストール
$ brew install fishhomebrewでfishをインストールする
$ fish -v
// fish, version 3.5.1
コマンド実行できるかを確認する。
iTerm2でfishをデフォルトのシェルにする
$ which fish
// /opt/homebrew/bin/fish
パスを確認する。
$ echo /opt/homebrew/bin/fish | sudo tee -a /etc/shells/etc/shellsにfishを追加する
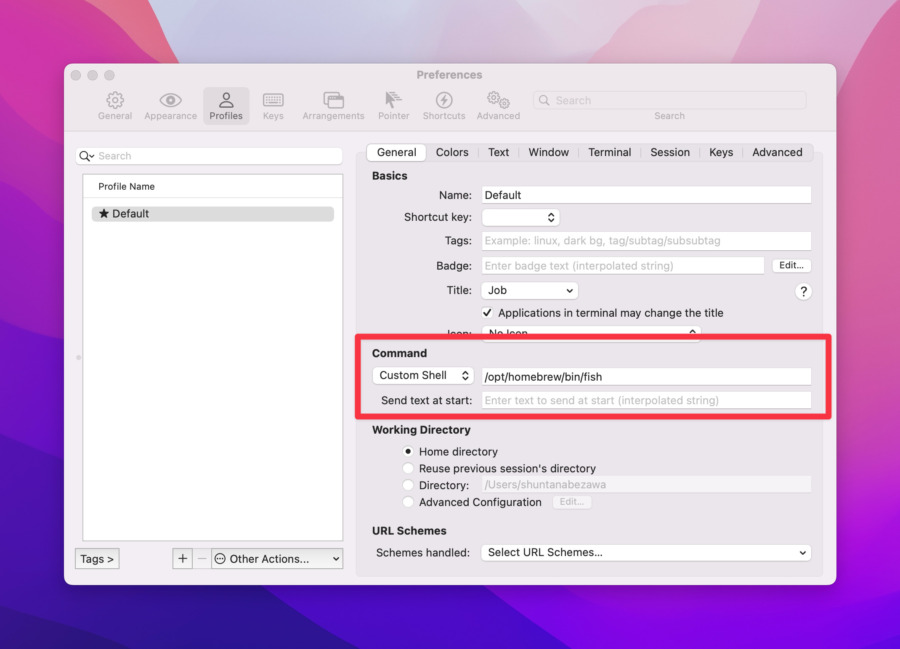
iTerm2のデフォルトシェルに設定する。
- iTerm2→Preferences→Profiles
- CommandをCustomShellに変更し、PATHを設定する。
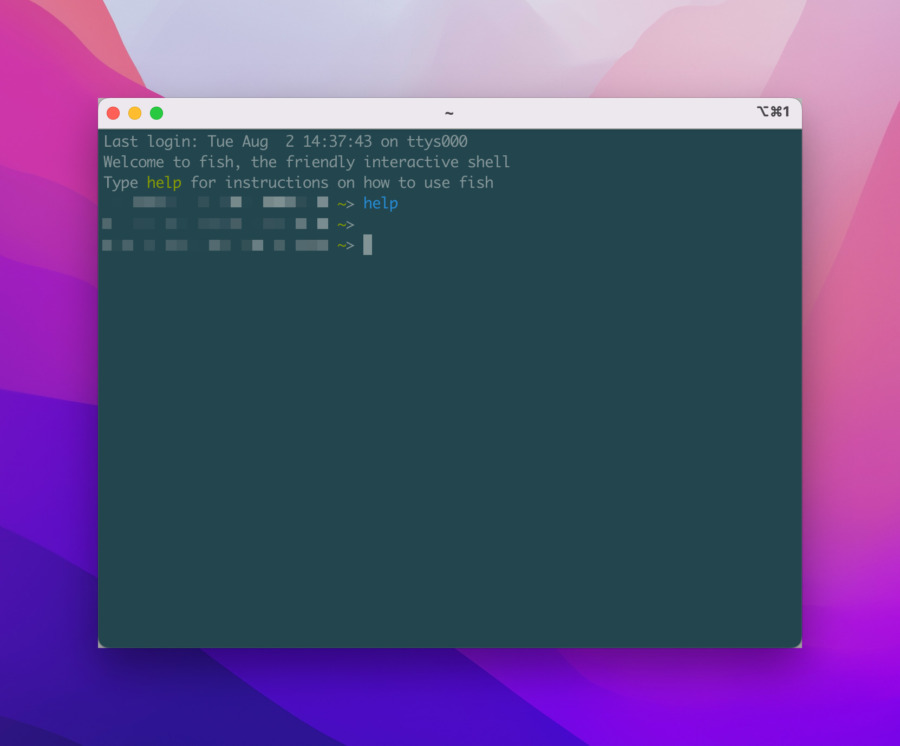
これでiTerm2を再起動したら、fishに変わっています。
// 下記ログが表示されました。
Welcome to fish, the friendly interactive shell
Type help for instructions on how to use fish
$ help
fisherをインストールする
fisherはfishのパッケージ管理ツールのようです。
fisher経由で色々な便利ツールをインストールしていきます。
$ curl -sL https://git.io/fisher | source && fisher install jorgebucaran/fisher
// https://github.com/jorgebucaran/fisher#installation
fisherをインストールする
$ fisher -v
fisher, version 4.4.2
インストールできているか確認する
$ cat .config/fish/functions/fisher.fishインストールしたら、fisher.fishというファイルが作成されていました。
$ fisher list
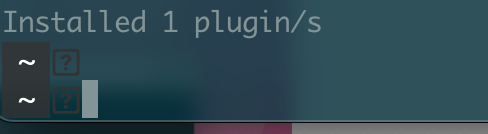
jorgebucaran/fisher // 現在はプラグインはfisherのみインストールしている。上記のコマンドで、現在インストールされているすべてのプラグインを一覧表示します。
補足: fisherをインストールできないとき
$ curl https://git.io/fisher --create-dirs -sLo ~/.config/fish/functions/fisher.fish上記のコマンドではfisherはインストールできなかったので、一度fisher.fishを削除してから公式のインストールガイドを参考にインストールしたらfisherをインストールすることができました。
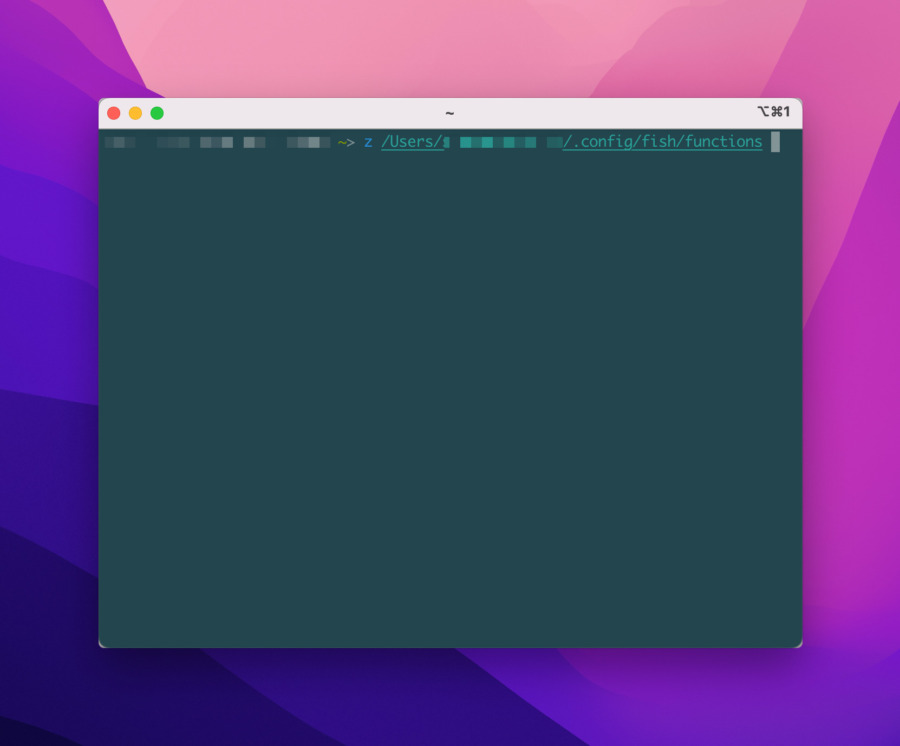
Z / fisherのプラグインをインストールする
Zは目的のディレクトリにジャンプできる機能です。
一度移動したディレクトリを覚えているので、わざわざパスを指定しなくてもタブ補完で選択することができます。
アプリのディレクトリに一発で飛べるので重宝します。
$ fisher install jethrokuan/z使い方
$ z {Tabキー}peco / fisherのプラグインをインストールする
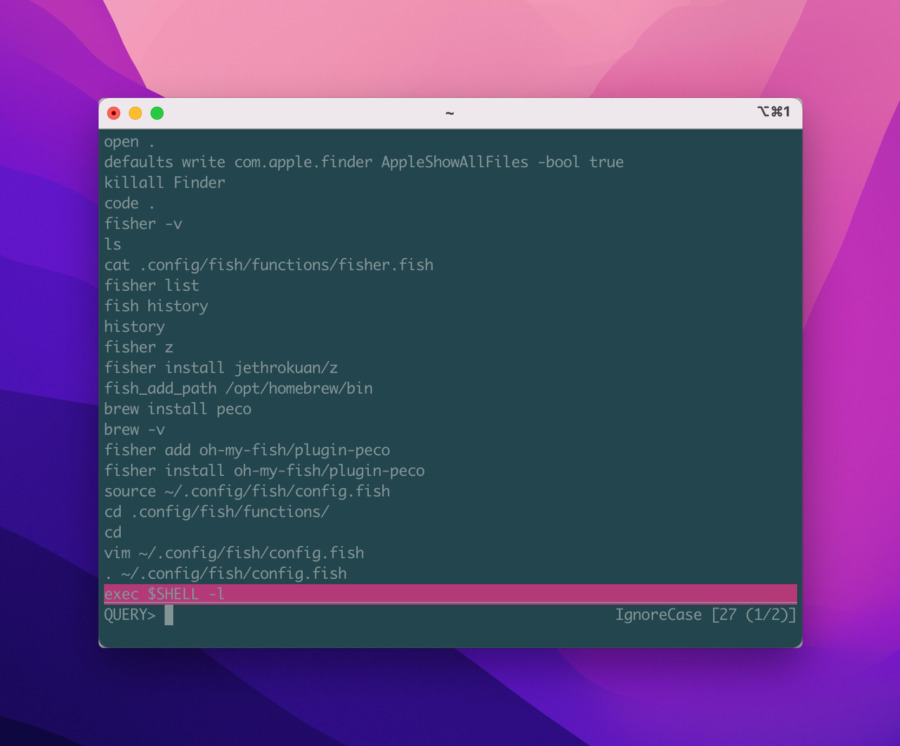
コマンドの検索履歴からあいまい検索ができるプラグイン。
$ brew install pecohomebrewでpecoをインストールします。
$ fisher install oh-my-fish/plugin-pecofisherでplugin-pecoをインストールします。
$ brew install pecoでfish: Unknown command: brewとエラーになった場合
$ fish_add_path /opt/homebrew/binhomebrewのパスを通します。これで再度$ brew install peco すればインストールできます。
.config.fishにpecoの設定を追加する
$ vim ~/.config/fish/config.fishvimで開く
// config.fish
if status is-interactive
    # Commands to run in interactive sessions can go here
end

# pecoの設定
function fish_user_key_bindings
  bind \cr 'peco_select_history (commandline -b)'
end
config.fishを上記のように設定を加える。
$ exec $SHELL -lfishを再起動する。
これで設定は完了です。
使い方
Ctrl + r で使えます。
Ctrl + Cで停止。
- https://github.com/peco/peco
- https://github.com/oh-my-fish/plugin-peco
- https://public-constructor.com/terminal-fish-setup/#toc10
fish-bd / fisherのプラグインをインストールする
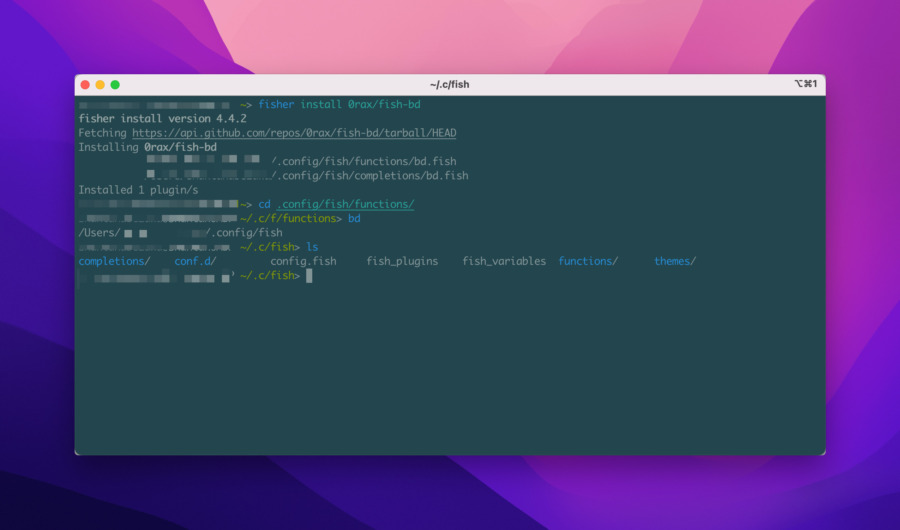
fish-bdとは親ディレクトリにすぐ戻れるコマンドです。
Quickly go back to a parent directory up in your current working directory tree. Don’t write ‘cd ../../..’ redundantly, use bd instead.
(現在の作業ディレクトリツリーの上位にある親ディレクトリに素早く戻ることができます。cd ../../…’ と冗長に書かずに、bd を使ってください。)
https://github.com/0rax/fish-bd
$ fisher install 0rax/fish-bd使い方
$ bd
or
$ bd {Tabキー}ghq / fisherのプラグインをインストールする
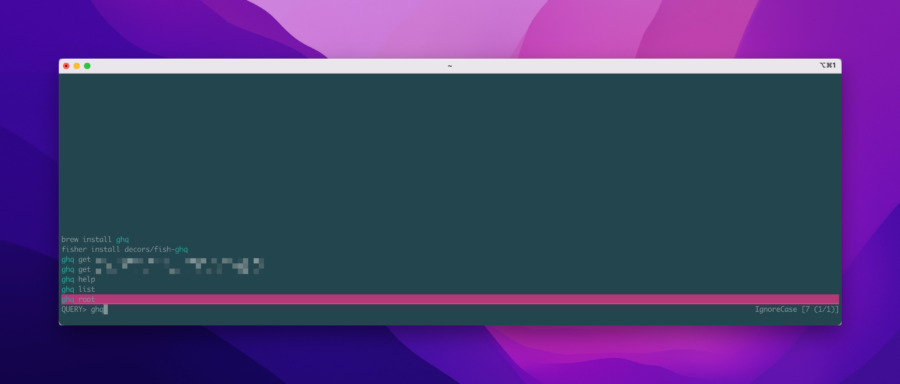
ghqはリポジトリ管理が楽になるプラグイン。cloneするときにghq/xxxという階層になる。
pecoのファジー検索と組み合わせて使えば、目的のディレクトリにすぐ飛べるようになる。
$ brew install ghqghqをインストールする
$ fisher install decors/fish-ghqfish-ghqをインストールする。
$ ghq helpコマンド実行できるか確認する。
使い方
// 例
$ ghq get リポジトリ名

// httpの場合:
$ ghq get https://github.com/xxx/xxx
// sshの場合:
$ ghq get git@github.com:xxx/xxx.git
リポジトリをcloneします。
- https://github.com/decors/fish-ghq
- https://public-constructor.com/fish-ghq/
- https://qiita.com/shizuma/items/2b2f873a0034839e47ce
補足: fishのテーマを変更する
bobthefishというテーマに変更します。
$ fisher install oh-my-fish/theme-bobthefishインストールします。
アイコンが文字化けしているので、フォントを追加します。
私の場合はtideというテーマでMeslo Nerd Fontが推奨されていたので、そちらを使っています。
他のFontを使う場合はこちら
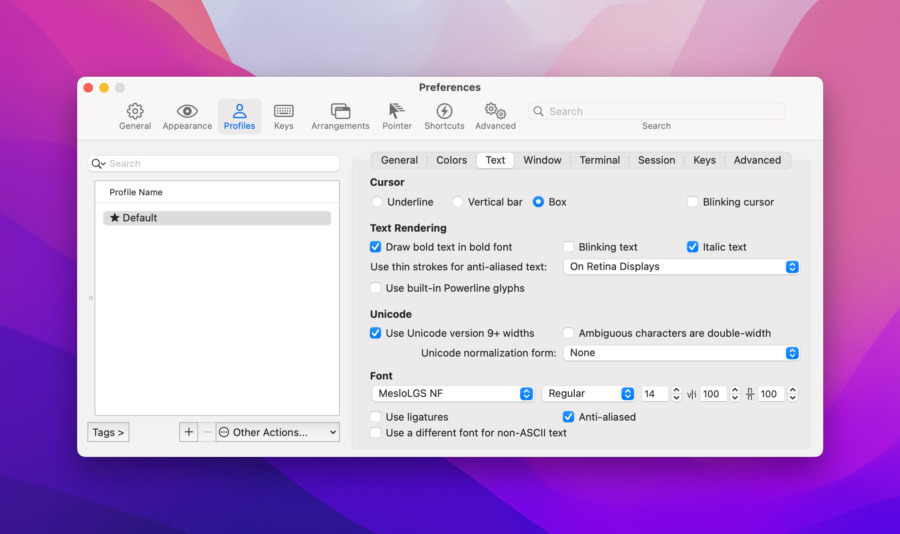
FontをインストールしiTerm2でFontを設定します。
→MesloLGS NF Regular 14

これで文字化けは解消できました。
補足: fish shellの表示周りの設定
あとはお好みですが、プロンプトと改行と時間の表示をオフにします。
設定まわりは以下を参考。
// config.fish

# 改行の設定
set -g theme_newline_cursor yes
# プロンプトの設定
set -g theme_newline_prompt '$ '
# 時間の表示設定
set -g theme_display_date no
config.fishに上記の設定を追加し、シェルを再起動します。
Before

After
補足: iTerm2の画面を変更する
デフォルトの画面だと少し見づらい気がするので最低限の設定をします。
完成図
テーマカラーを変更する

- iTerm2→Preferences→Profiles→Colors→Color Presets
- Solarized Darkに変更する
透明度を変更する
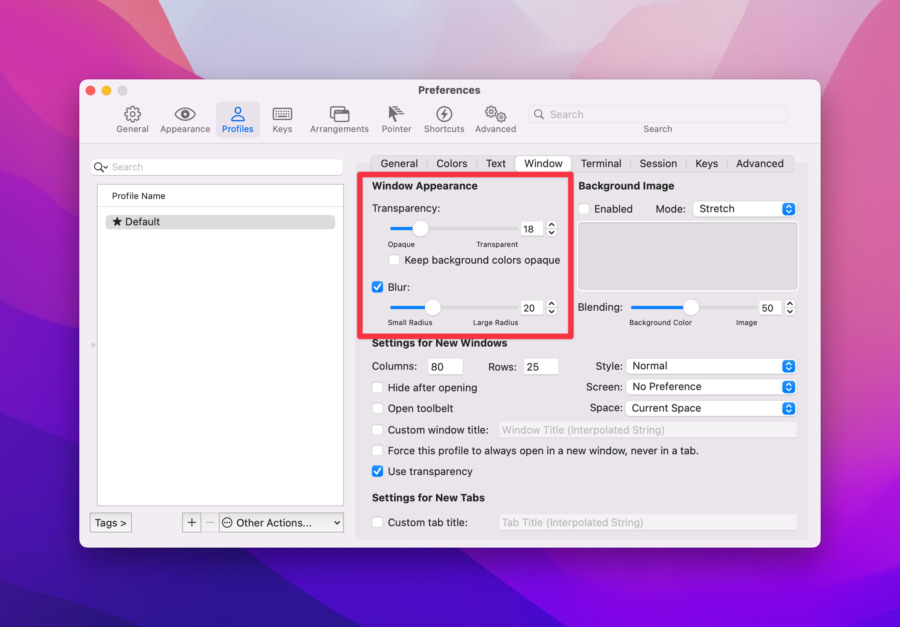
- iTerm2→Preferences→Profiles→Window
- Transparencyを18に設定
- Blurにチェック
- Blurを20に設定する。
フォントサイズを変更する
- iTerm2→Preferences→Text
- FontSizeを14に変更する。
補足: iTerm2でログを無限にスクロールできるようにする

- iTerm2→Preferences→Profiles→Terminal
- Unlimited scrollbackにチェックする。